Comparatively, neutrons detect the most defects in 3D printed components
Test procedures under scrutiny

Laser beam melting is a common 3D printing process for turbine blades with internal cooling channels. During this process, a laser melts a thin layer of metal powder in predefined areas. Layer by layer, the component forms in a bed of powder. Like in an archeological excavation, the component is then exposed and the remaining powder can be reused for the next printing process.
However, process instabilities can lead to defects and reduce the strength of the component. Typical defects are pores and cracks. Even partial or total separation of individual layers can occur.
Defects in safety-critical components, such as turbine blades, can have serious consequences. "We therefore need to examine critical components after the manufacturing process and of course do so non-destructively," explains Cara Kolb from the Institute for Machine Tools and Industrial Management at TUM.
A look inside
For their experiments, the researchers produced test specimens with defects of different size and depth and then attempted their detection using non-destructive testing methods. This involved active infrared thermography (aIRT), ultrasonic testing (UT), X-ray computed tomography (CT) and neutron grating interferometry (nGI).
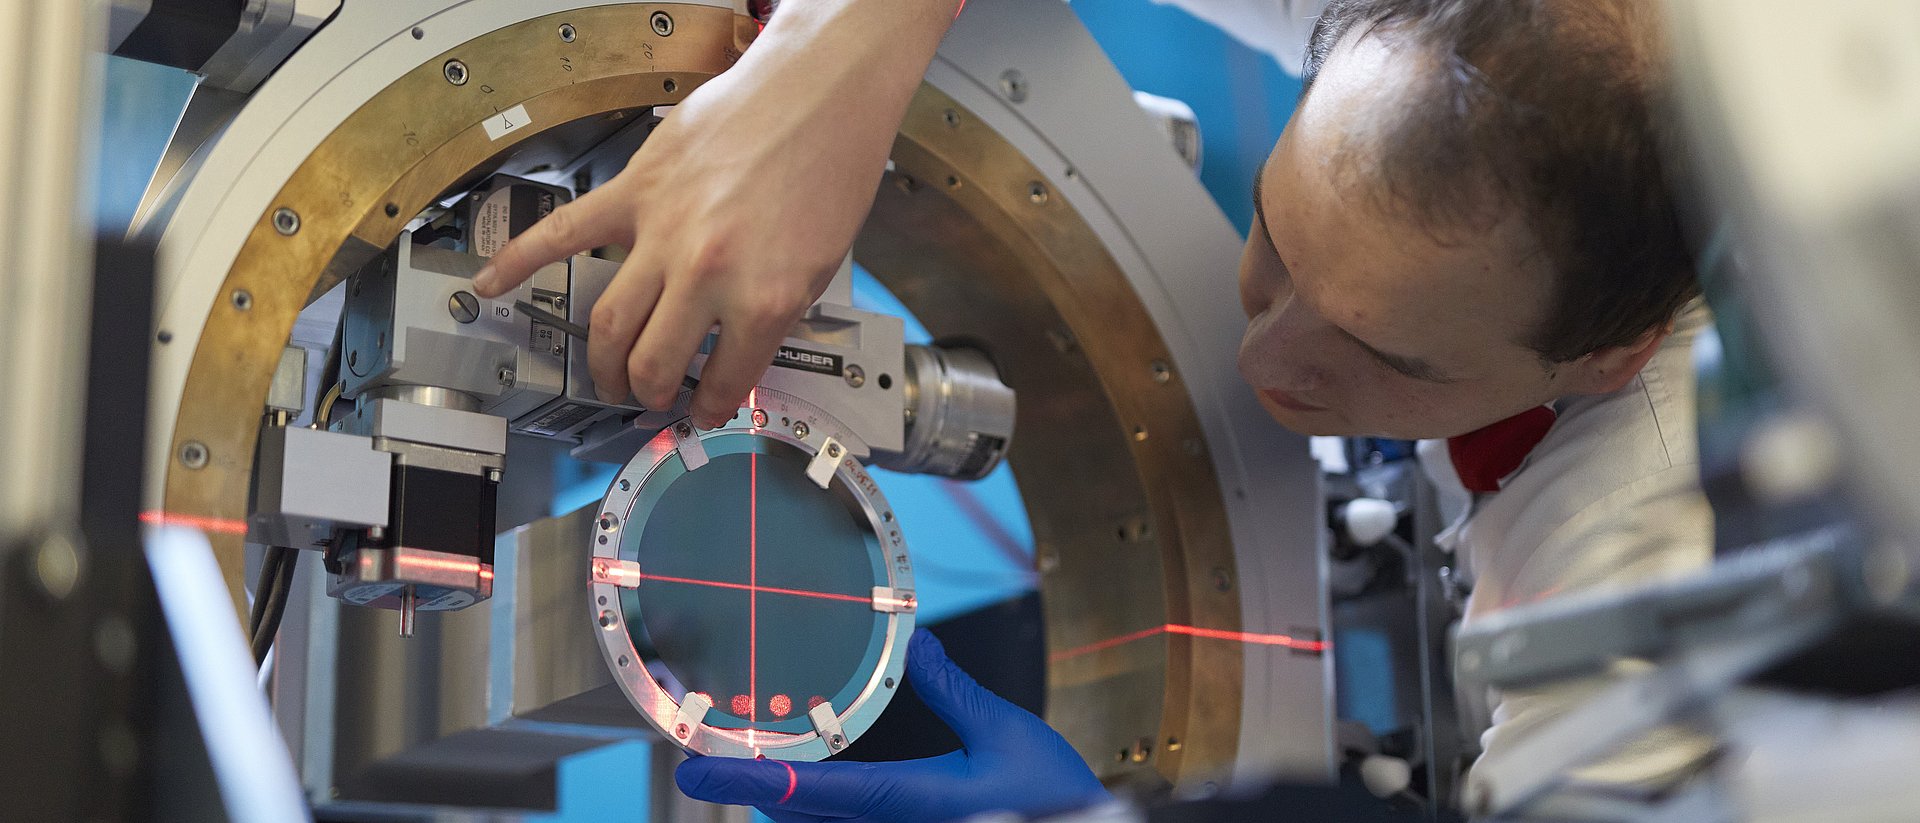
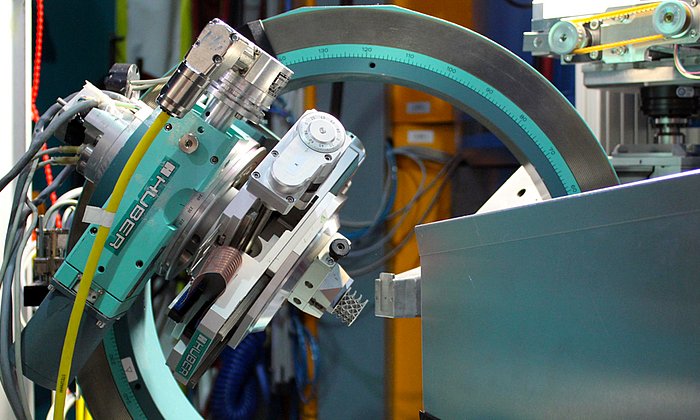
At the research neutron source doctoral student Tobias Neuwirth conducted the experiments at the ANTARES instrument. "We investigate components using neutron grating interferometry, observing the scattering and absorption of neutrons in a spatially resolved manner. Changes in these properties give us information about the type and size of the defects," he explains.
Greater penetration and better resolution with neutrons
Each of the methods tested has both potential and challenges. Neutron grating interferometry is complex and more expensive than the other test methods investigated, but of all the methods, it detected the most and the smallest defects.
"Neutrons can penetrate deep into the material and resolve the internal component structure with high resolution. They are particularly suited to nickel-based alloys, which are enormously important for the additive manufacturing of structural components in aerospace," concludes Cara Kolb.
Research into testing procedures that non-destructively assure the quality of 3D-printed components is very important: Such procedures reveal the likelihood of a component failure during operation. They are also ever more important as additive manufacturing in aircraft and cars, for example, increases.
C. G. Kolb, K. Zier, J.-C. Grager, A. Bachmann, T. Neuwirth, S. Schmid, M. Haag, M. Axtner, F. Bayerlein, C. U. Grosse, M. F. Zaeh
An investigation on the suitability of modern nondestructive testing methods for the inspection of specimens manufactured by laser powder bed fusion
SN Appl. Sci., 3, 713 (2021) – DOI: 10.1007/s42452-021-04685-3
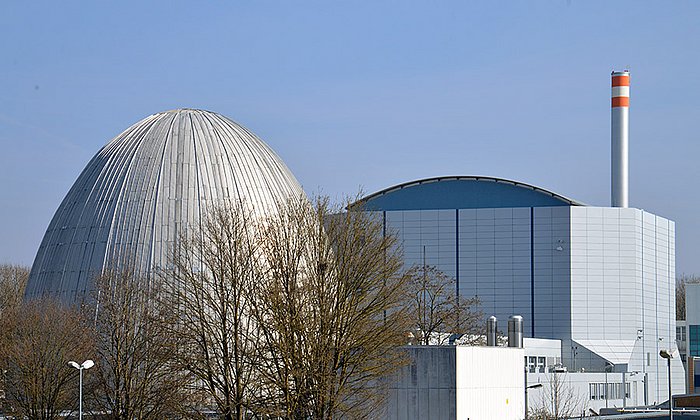
The experiments to investigate the ability of neutrons to detect defects were conducted at the FRM II using the ANTARES facility of the Heinz Maier-Leibnitz Zentrum (MLZ). CT scans were provided by FIT AG, Lupburg.
Technical University of Munich
Corporate Communications Center
- Elene Mamaladze / Andreas Battenberg
- battenberg@zv.tum.de
- presse@tum.de
- Teamwebsite
Contacts to this article:
Prof. Dr.-Ing. Michael Zäh
Technical University of Munich
Institute for Machine Tools and Industrial Management
Boltzmannstr. 15, 85748 Garching, Germany
Tel.: +49 89 289 15502 – E-Mail: michael.zaeh@iwb.tum.de
Tobias Neuwirth
Technical University of Munich
Heinz Maier-Leibnitz Zentrums (MLZ)
Instrument ANTARES
Lichtenbergstr. 1, 85748 Garching, Germany
Tel.: +49 89 289 11754 – E-Mail: Tobias.Neuwirth@frm2.tum.de


